NPL Tutorial - Step 3
Building The ISE Project
We will now build the binary file to be uploaded to the CPLD.

Select the Verilog Source npltut01.v in the Sources in Project Window and Implement Design in the Processes for Source "npltut01" Window. From the Process Menu select Rerun All.

The process will take some seconds and finally present a Fitter Report in the Edit Window. You may have noticed several warnings, which are caused by unused input pins. The reason is, that the User Constraint File specifies all pin signals of the Ethernut CPLD, but our simple Verilog Source will only use a few of them. Thus, you can safely ignore the warnings.
Now scroll down the Processes Tree and select Generate SVF/XSVF/STAPL File. Open the Process Menu again and select Run.
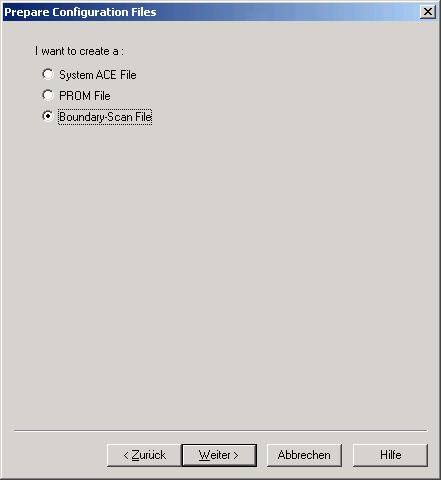
This will invoke the iMPACT Utility. This is the programming software for Xilinx Programmable Logic Chips, similar to the JTAG-O-MAT for the ARM7 or avrdude for the AVR. However, we will not directly program the CPLD with this tool, but create a programming file instead. This file will be later implanted in a Nut/OS application called XSVF Executor, which in turn will be uploaded to the Ethernut Board. When the XSVF Executor is started, it will program the CPLD using the programming file.
Select Boundary-Scan-File on the first dialog page, because this is what the Executor expects.
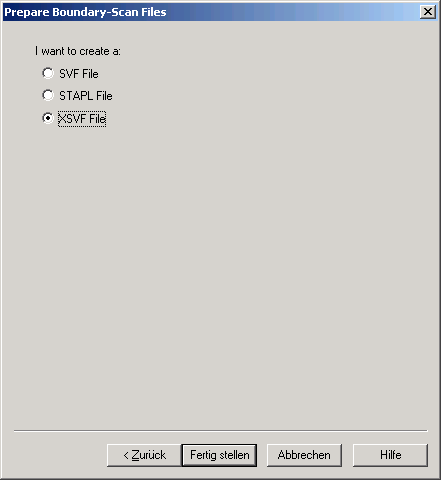
Three different boundary scan file formats are offered on the next page. Select XSVF File.
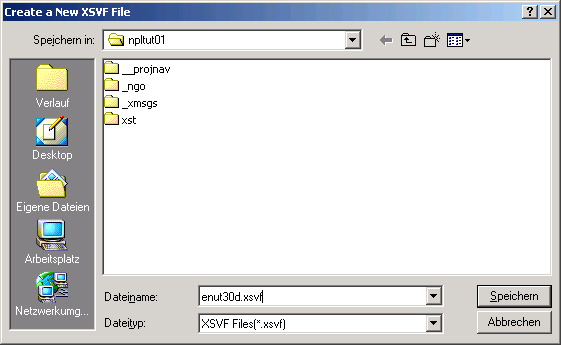
A file creation dialog will appear. Enter enut30d.xsvf. iMPACT will store all programming instructions in this file.
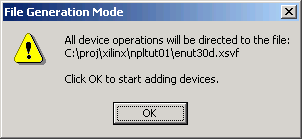
Press OK.
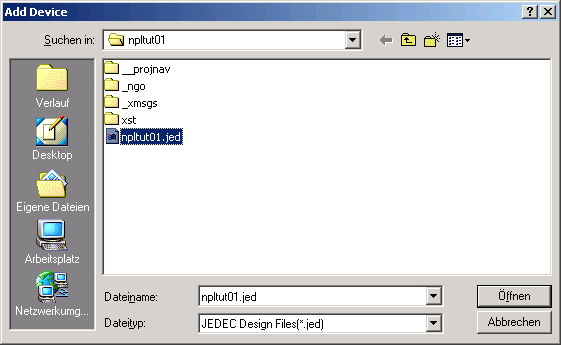
Finally iMPACT queries us for the name of the device file. Luckily ISE created one for us during the Design Implementation Phase. It got the same name as our project and the extension .jed (for Jedec). Select this file and press the Open button.

After returning to the iMPACT main window, we notice that an image of a Xilinx chip appeared. Click on this image and select Program... from the Operations Menu.
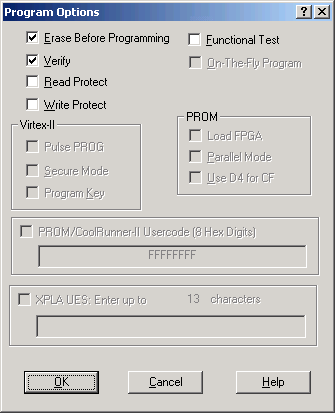
In the Program Options Dialog make sure that Erase Before Programming and Verify are both selected and that all other options are deselected.
Press OK to start programming. As stated above, the programming commands are now stored in the xsfv file.
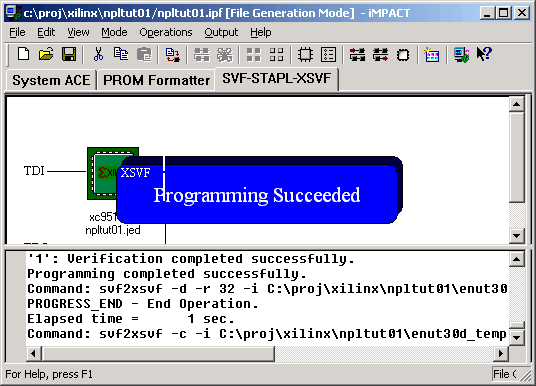
After a few seconds Programming Succeeded should appear in the main window. We can quit the iMPACT utility. As a result we end up with the XSVF file.
