
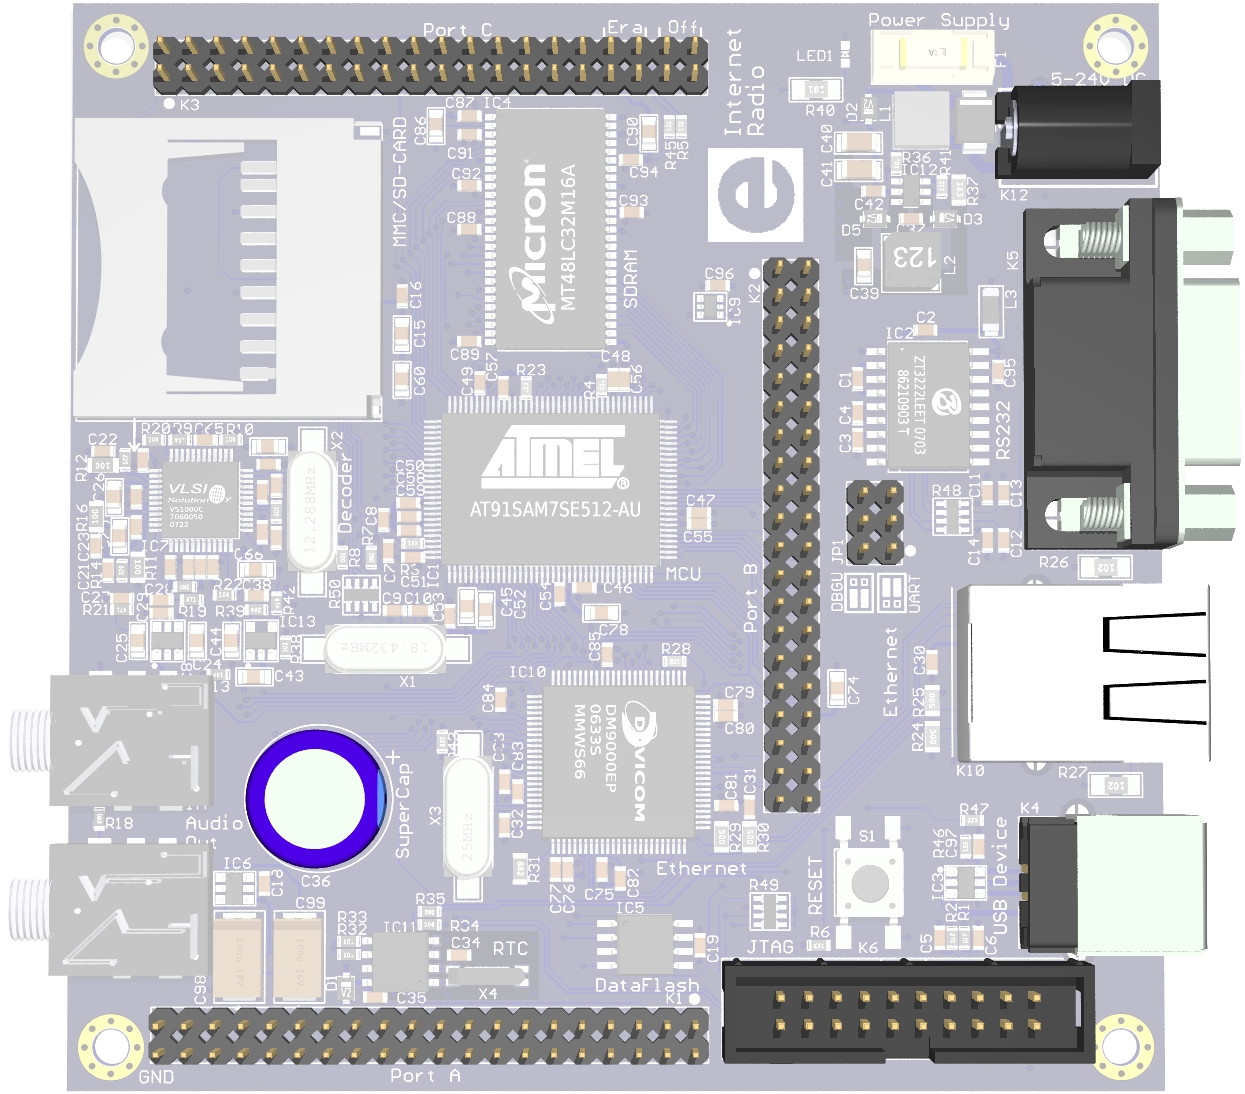
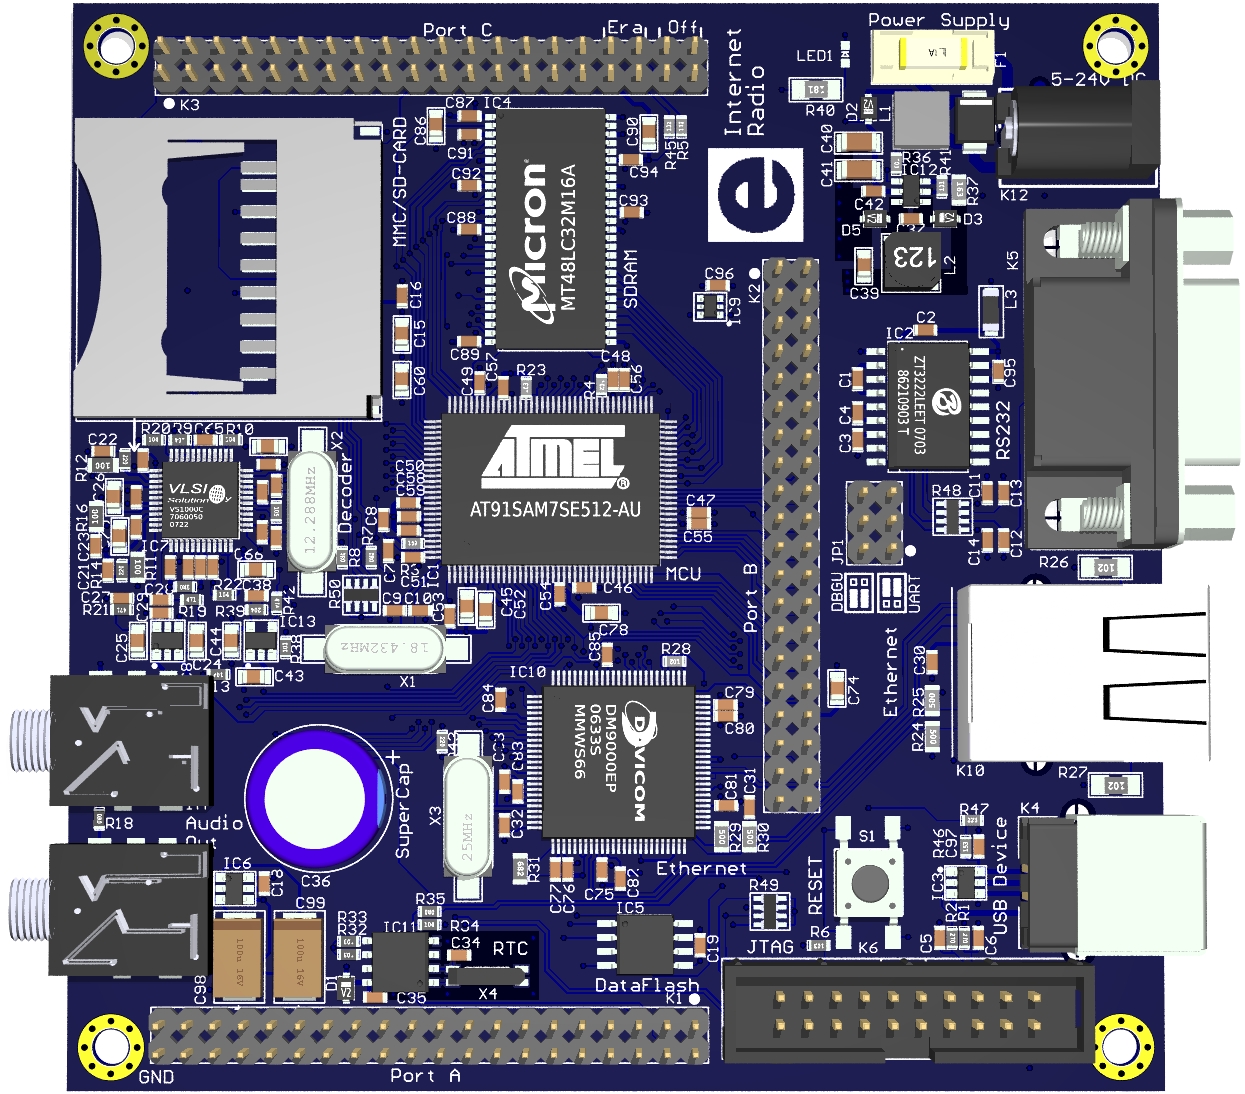
Assembly Instructions

|
EIR boards are shipped with SMD parts populated, but THT parts packed seperately for DIY soldering. |

|
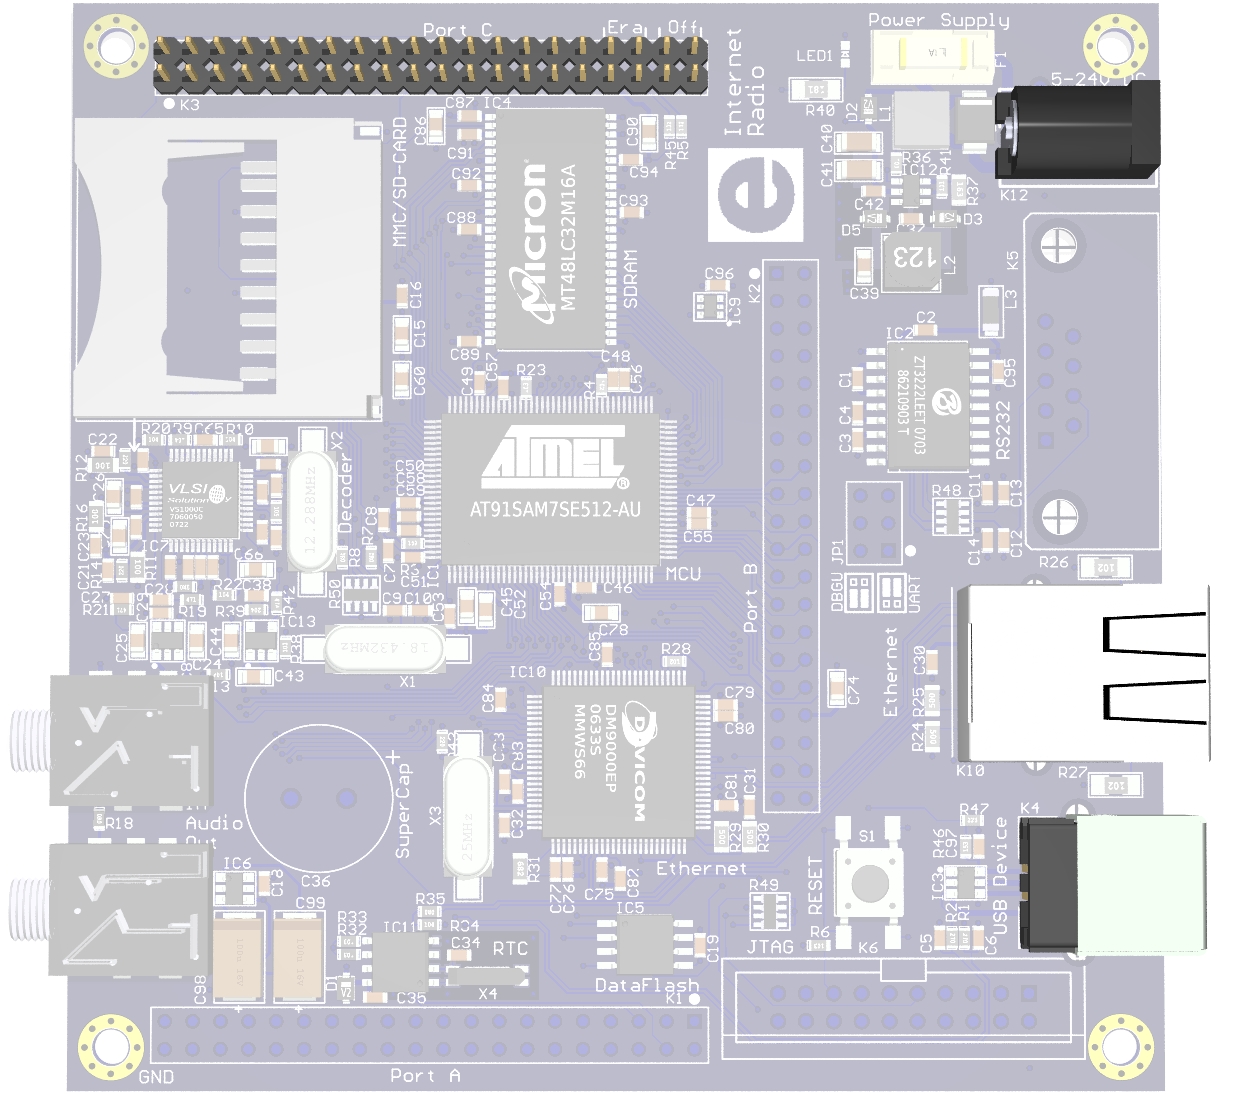
1. Ethernet connector Because the firmware had been preloaded, you should be able to receive and listen to Internet radio stations. |
|
In order to be able to erase and the Flash memory and upload new firmware, we need to mount
3. Expansion port connector K3 (or at least pins 34 and 36) |
|
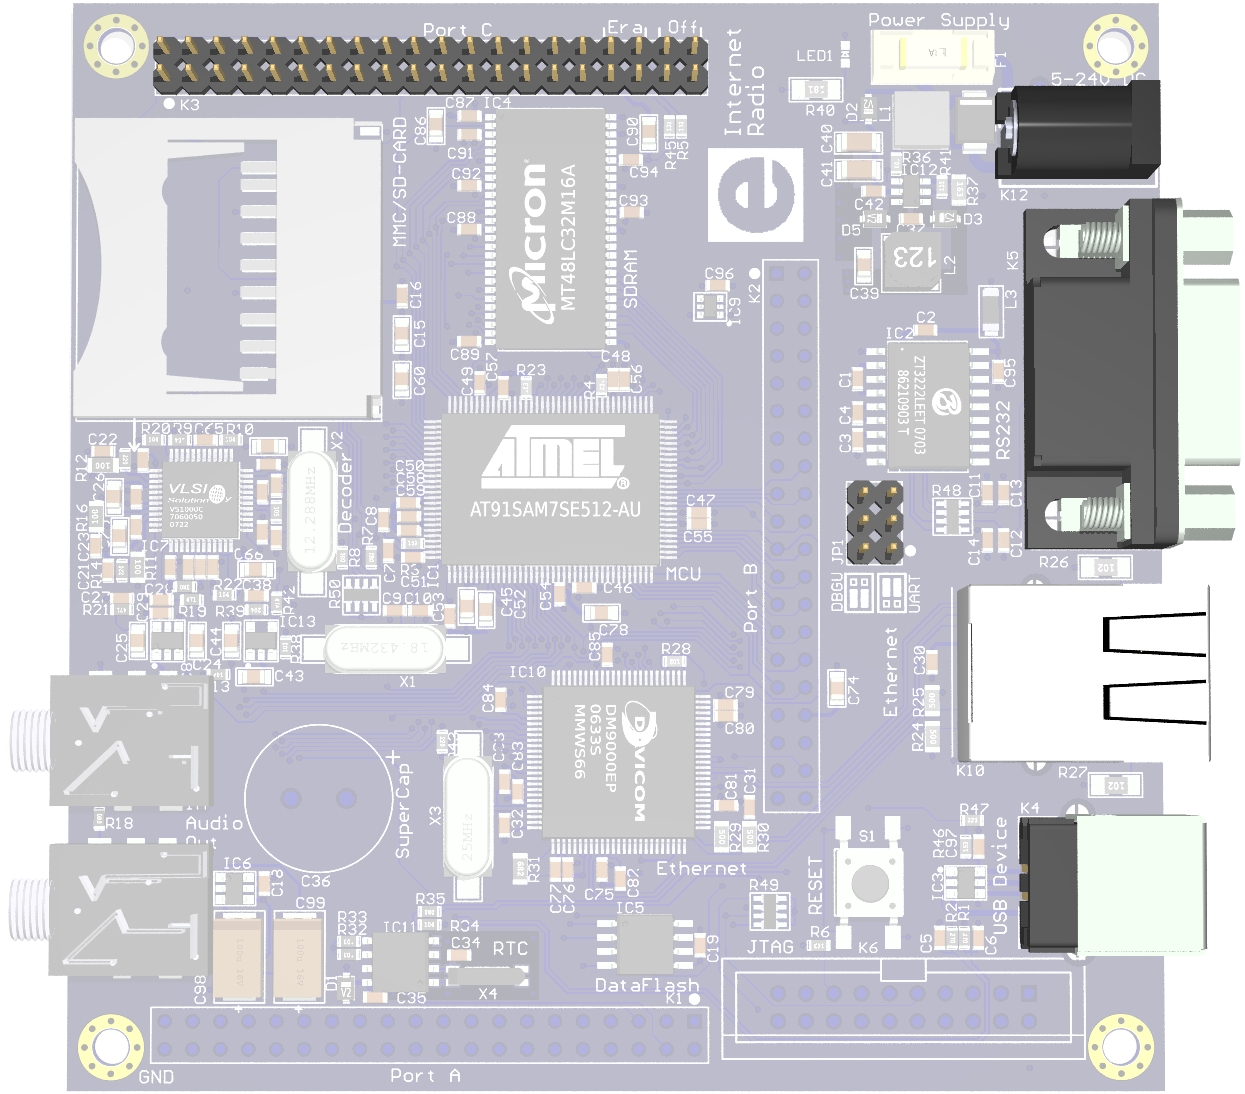
If things are not working as expected, it would be a good idea to make use of
the serial port,
where the following parts are needed.
5. RS-232 jumper |
|
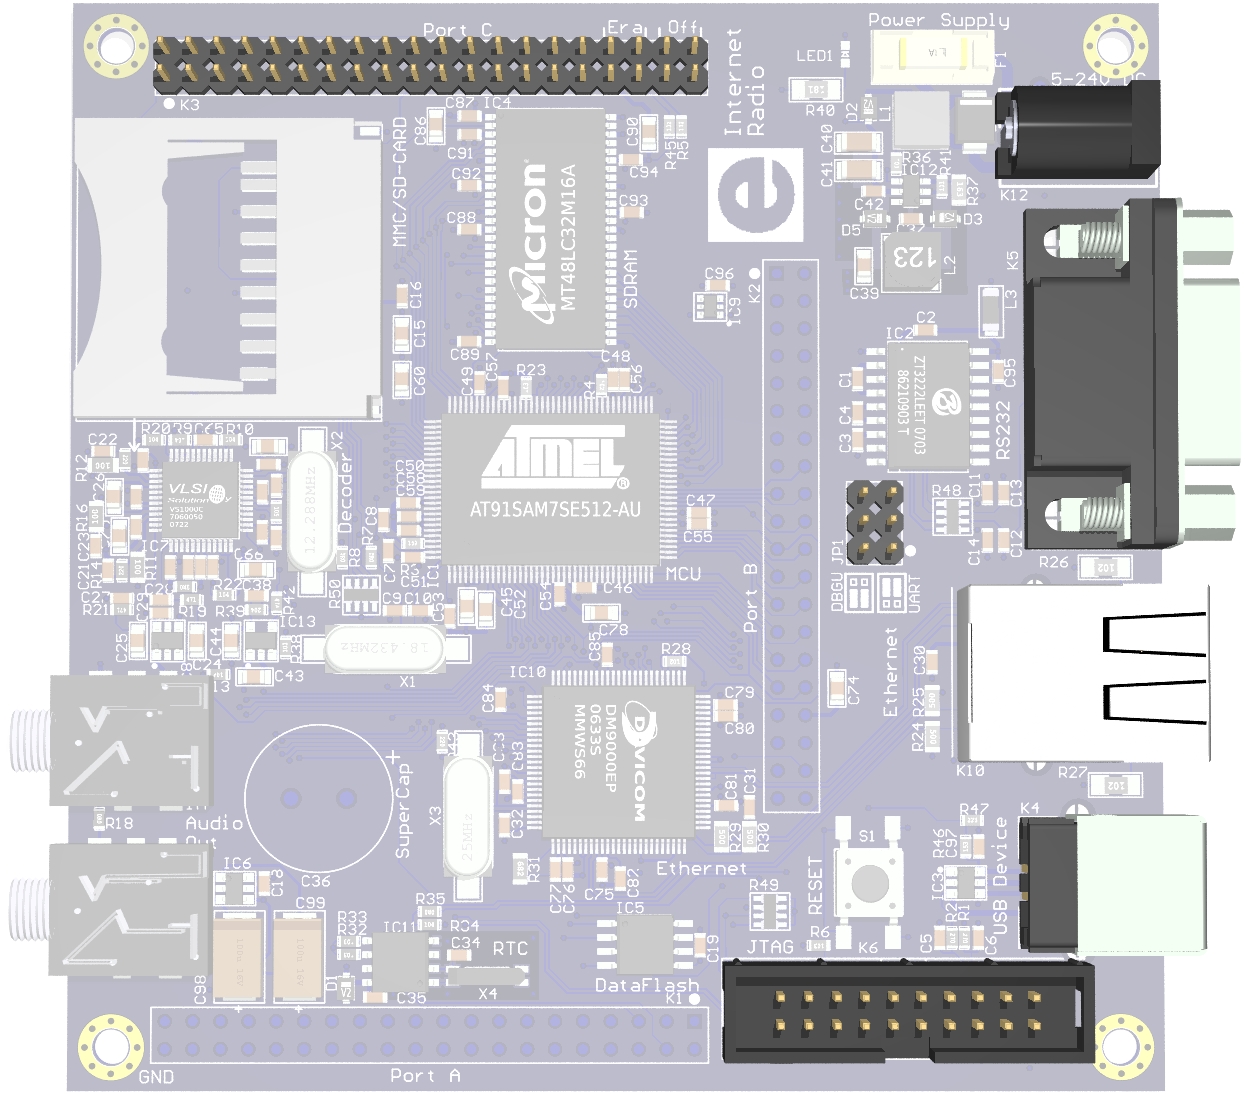
In order to use the JTAG interface, mount 7. JTAG connector |
|
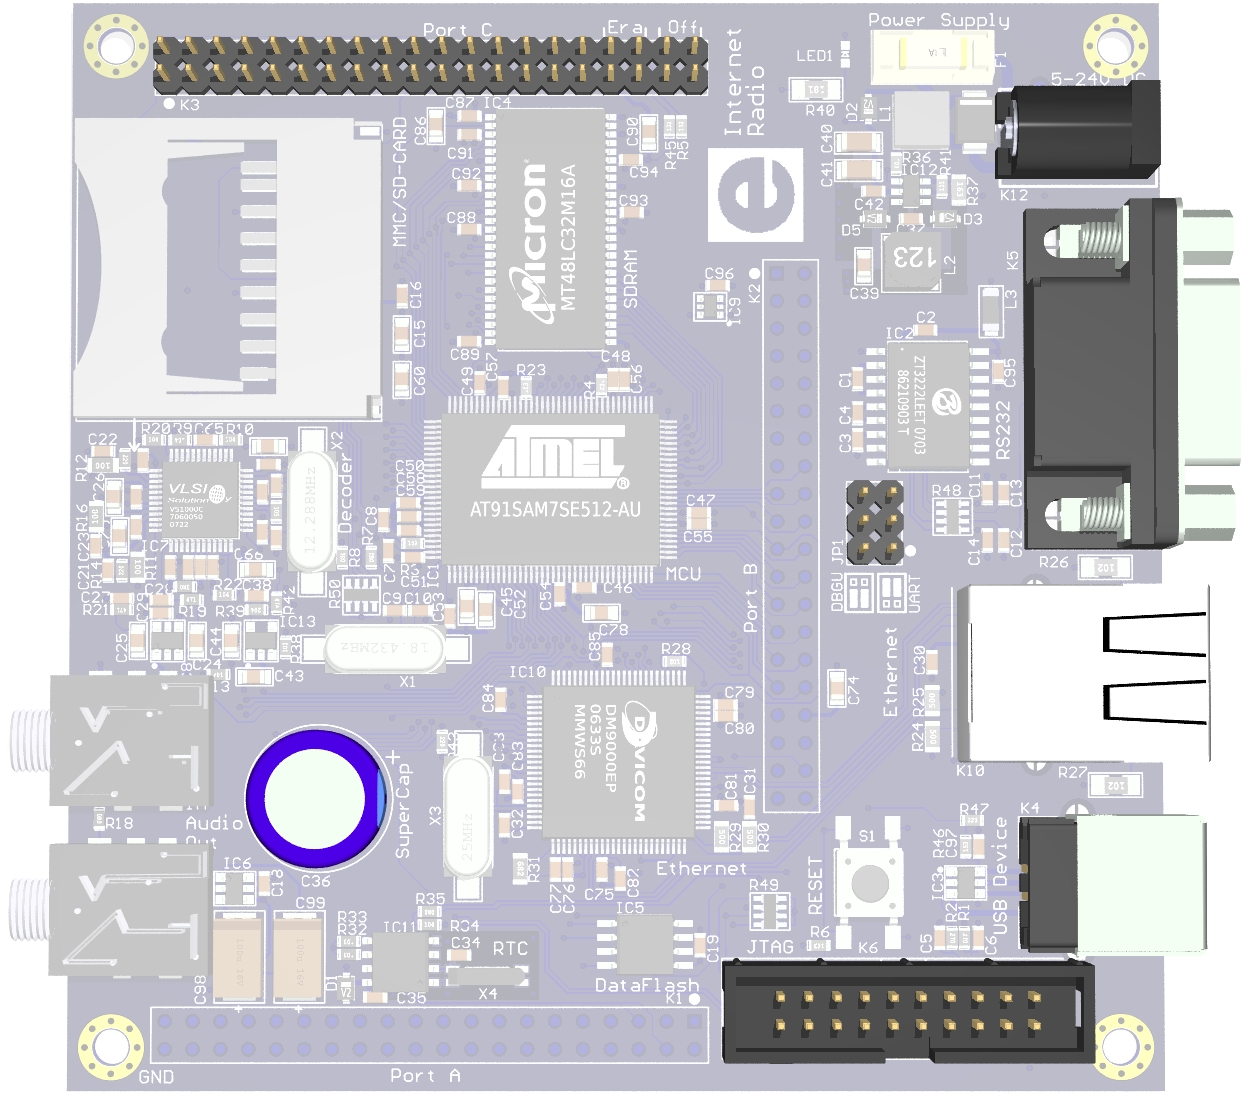
For RTC backup during power loss, mount 8. Double layer capacitor |
|
Finally, if you intend to attach an add-on board, K3 should have been fully
populated. Additionally mount 9. Expansion port connectors K1 and K2 |
|
Finished! |
Return to the EIR project page.